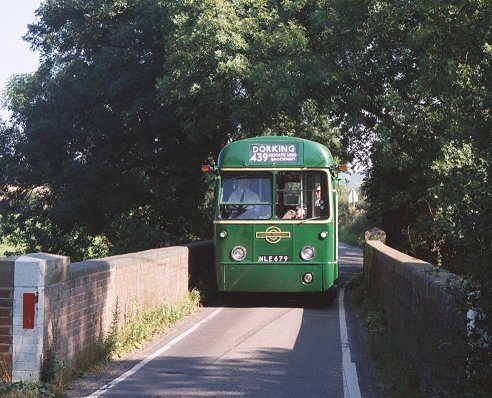
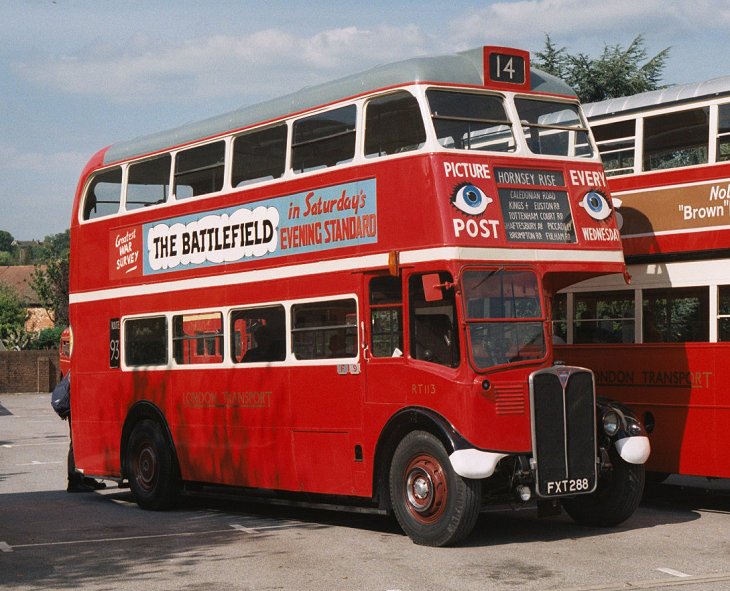
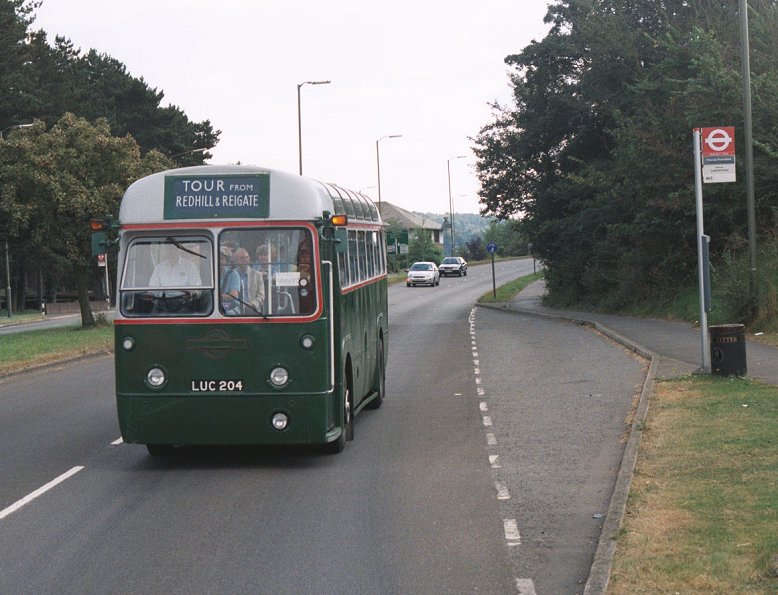
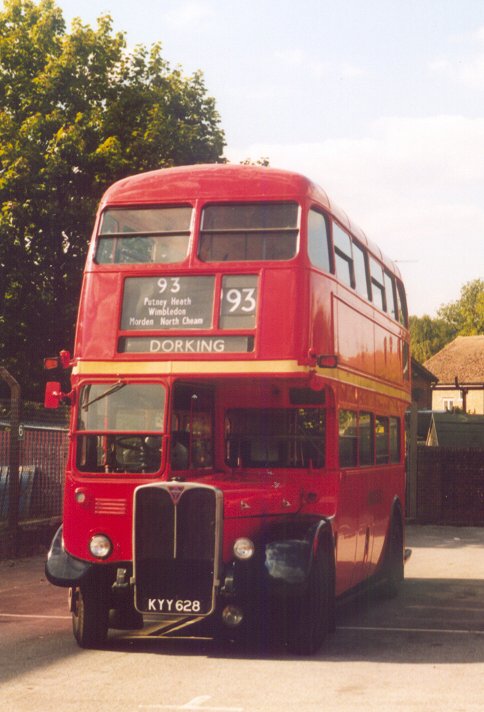
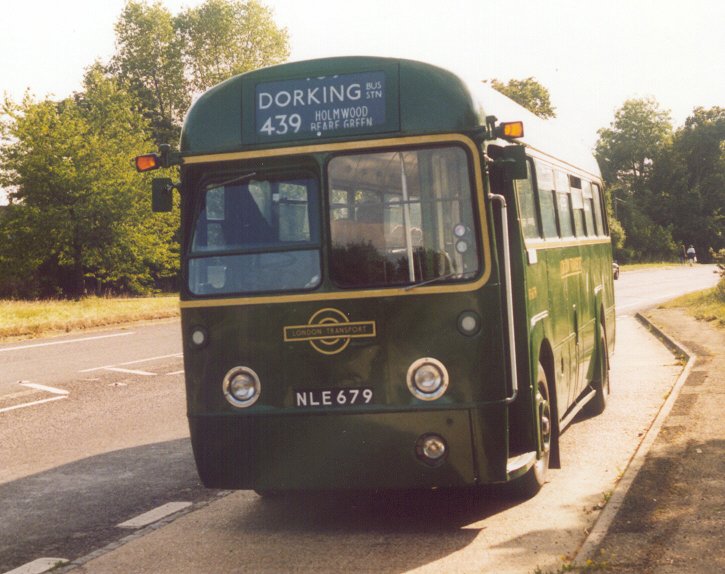
Dorking Running DaySunday 1st September 2002Prepared by Ian Smith, 30th September 2002Part 4: Epsom Recall (RT113, RF679).At Dorking I was in nice time to change onto RT113, about to set off on a return trip to Epsom. The war-time RT used to run on the 93 between Putney Bridge and Dorking on Sundays when new, and the crew had prepared commemorative certificates for distribution to passengers on the day. The bus loaded well, and I claimed a seat downstairs, near the platform.We headed north from Dorking, pursued by touring RF 4, which was heading for Denbies Vineyard. The RF spent most of the day on its designed tour duties, but did have some bus work in the form of the first and last clockwise trips round the 439 loop.
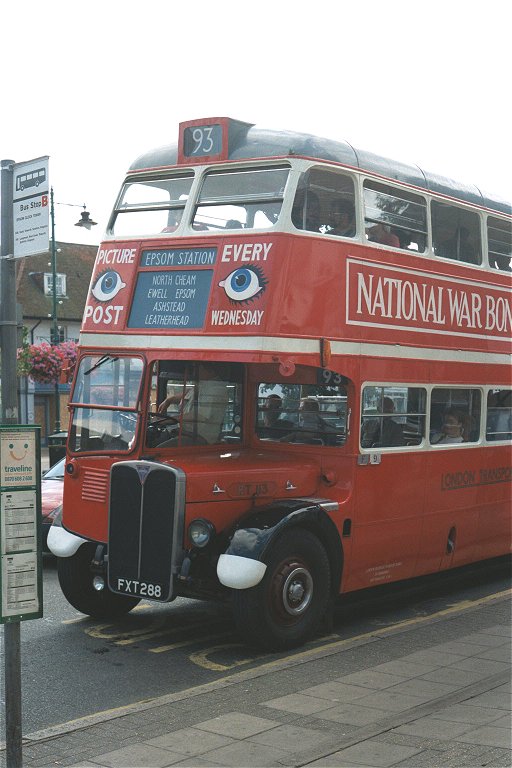
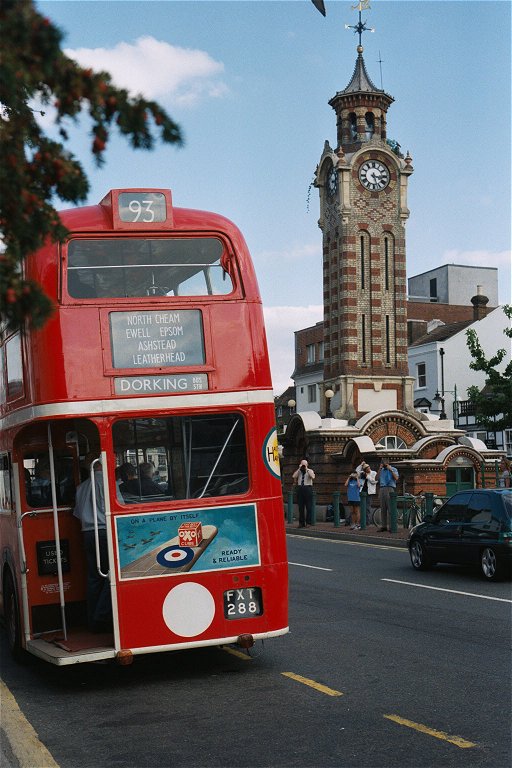
RT113 rumbled up to Burford Bridge, and climbed over the flank of Box Hill to Mickleham, where we were held up by badly parked cars. Back on the main road we continued to Leatherhead, and headed north-east to Epsom. There we had a few minutes photography time, recollecting the old days of the 93 route at Epsom clock tower.
While I was there my phone rang. Where was I? RF679 was going to head home as soon as possible, the unloader valve behaving well enough for travel but not for service. I promised to get back to Dorking as quickly as possible. That was on RT113 of course. The crew had already decided to give the horrors of Mickleham a miss, so it was a speedy (but enjoyable) return trip to Dorking.
We made it safely, and RF679 was tucked away safely with sister RF603, awaiting a season of maintenance ready for next year.
My thanks go to the Country Bus Rallies team for organising the event,
involving arranging with owners of buses, scheduling, arranging the venue, making agreements with operators, organising catering, stalls and toilets, all with enough flexibility to cope with the problems that crop up on the day.
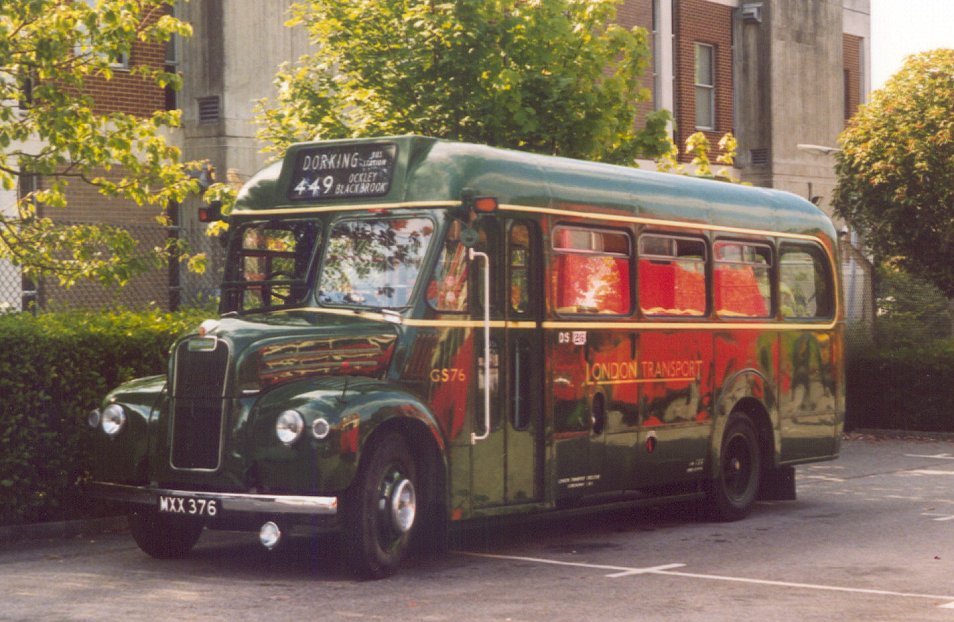
Buses:GS1, 2*, 13, 62, 76RF4, 113, 213, RF366*, 486*, RF626, 679 RT113* RT604, 1790*, 2043*, 2083, 3491 XF3 SNB312
visitors:
STL2377, Q83, RF19, RMC1476, AV251
Routes93: Putney Bridge - Morden - Epsom - Leatherhead - Dorking412: Dorking - Holmbury St.Mary - Sutton 414: West Croydon - Redhill - Reigate - Dorking - Capel 425: Dorking - Gomshall 433: Dorking - Ranmore Common 439: Redhill Stn - Leigh - Brockham - Dorking - Beare Green - Newdigate - Brockham - Dorking 448: Gomshall - Peaslake - Ewhurst 449: Dorking - Chart Downs - Four Wents Pond - Capel - Ewhurst 470: Dorking - Leatherhead - Epsom 852: Ewhurst 712: Luton - London Victoria - Morden - Leatherhead - Dorking 714: Richmond - Kingston - Surbiton - Hook - Leatherhead - Dorking Tour: Dorking - Denbies Vineyard 32: (Memory Lane): Guildford - Gomshall - Dorking Stn 70D: (London Central): Brixton - Morden - Dorking |

 Part 1.
 Part 2.
 Part 4.
 Back to Ian's Bus-stop